
Introduction
To get the full benefit of using Material Planner you need to configure it before use. Here you will find a description of the different fields pertaining to the setup of Material Planner.
You can configure Material Planner in one of two ways:
-
Manual Setup
-
Assisted Setup:
Below you can see a description of both methods, select the setup method that best suits you.
Manual Setup
-
Click on Search enter the words Material Planner Setup and press Enter.
-
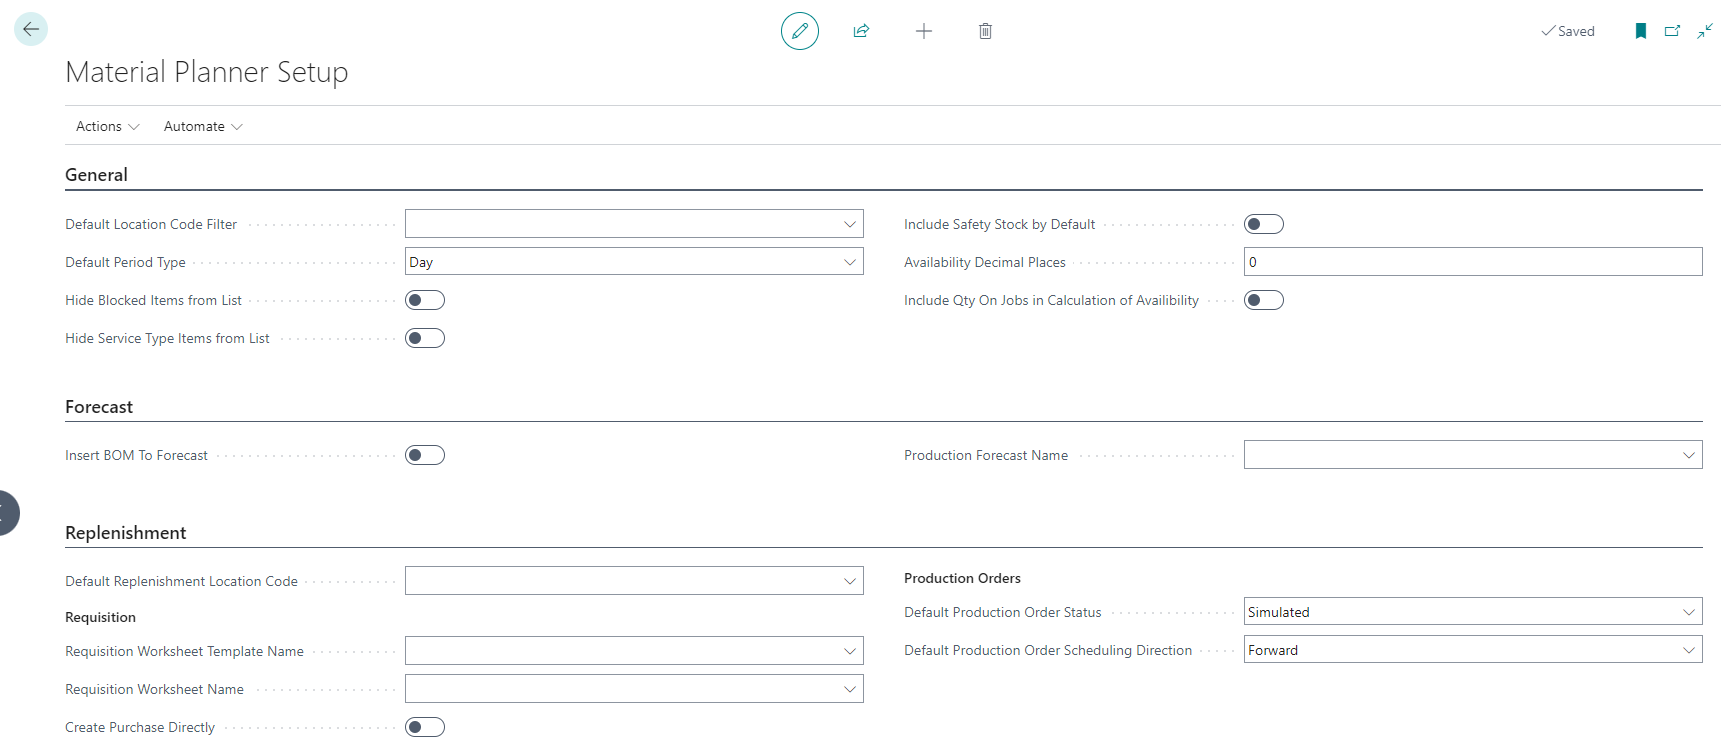
You will be presented with the Material Planner Setup page and can start entering data into the fields. You can look at the section Material Planner Setup Fields below for an explanation what each field does.
Assisted Setup
-
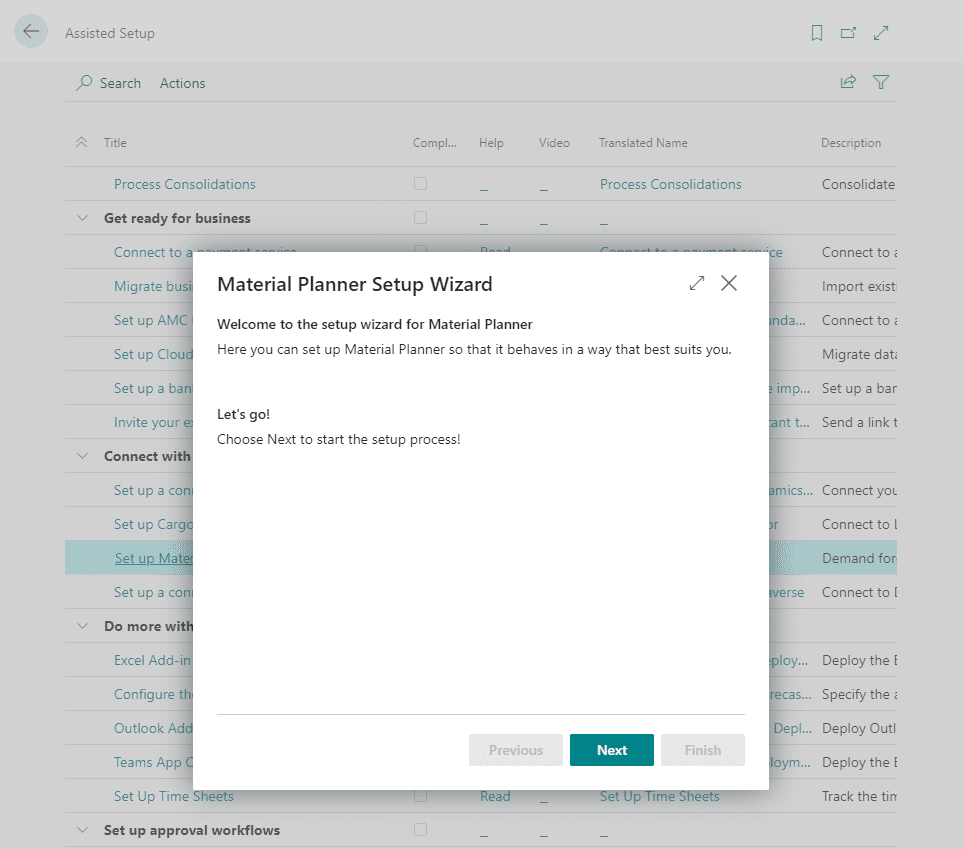
Click on search enter the words Assisted Setup and press Enter.
-
Click on Set up Material Planner under the heading Do more with Business Central.
-
You will be presented with the Material Planner Setup Wizard that will take you through each setting individually explaining what each field does. For a more in depth description of each field you can look at the section Material Planner Setup Fields below.
Material Planner Setup Fields
General

Default Location Filter
When looking at the overview of the availability of items it can be helpful to be able to add a filter for one or more locations. You can do that on the pages themselves using the fields below.
However if you would like to add a default value to the fields that will be automatically set every time you open them then you can do that by setting the value in the Default Location Filter field in the setup.
You can select a value from the dropdown list or select multiple locations by seperating them with the '|' character. You can even exclude locations by prefixing the location code with '<>'.
Default Period Type
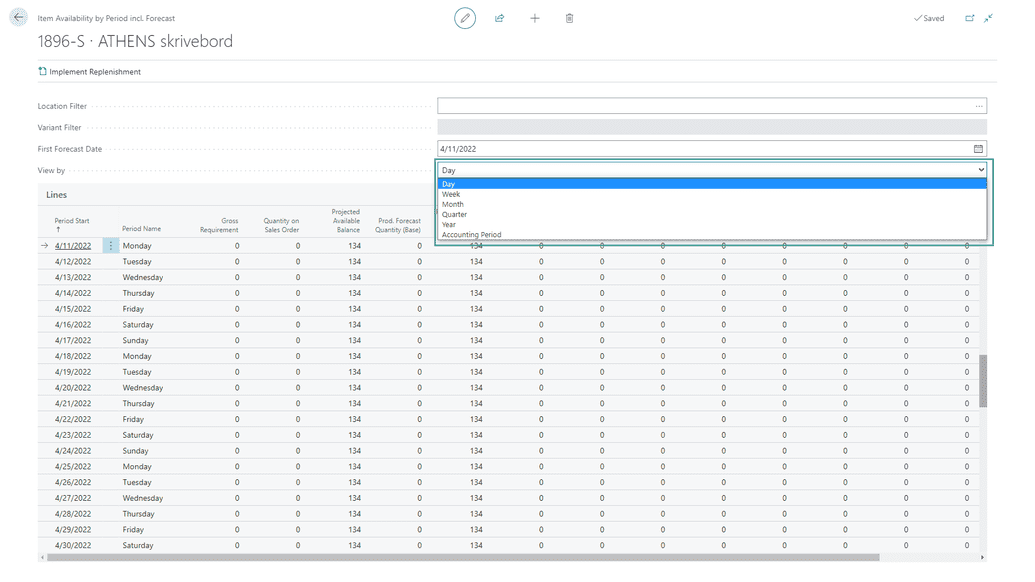
When viewing the page that shows Item Availability by Period with Forecast included a period type must be selected. In this field you can set the default value for period when investigating forecast data.
Hide Blocked Items from List
Activate this filter if you want items with the value Blocked activated in the item card to be excluded from the Item Overview.
Hide Service Type Items from List
Activate this filter if you want items with the value Type = Service to be excluded in the Item Overview.
Include Safety Stock by Default
On the Material Planner Overview page you can select whether you would like the Safety Stock of an item to be shown and included in the availability calculations. You do this by checking the field Include Safety Stock on the Material Planner Overview page:
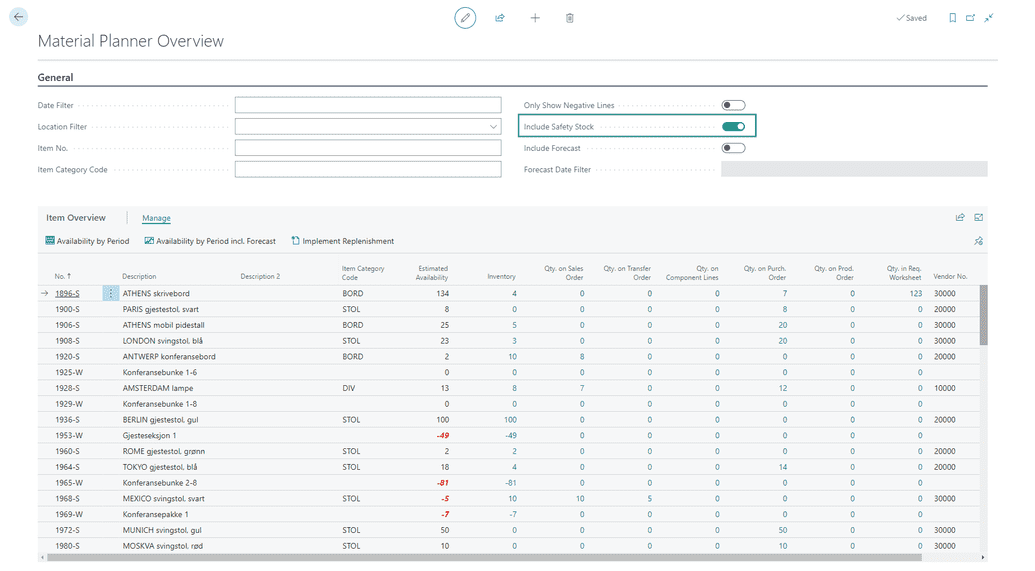
In the setup field Include Safety Stock by Default you can set the default value for whether you would like the safety stock to be included or not. That value will then be set automatically every time you open the page. The value can always be overridden on the page itself.
Availability Decimal Places
The number of wanted decimals to be shown for item quantitites in the Item Overview. (Ex: 2 gives quantity 50,00)
Include Qty On Jobs in Calculations of Availabilty
Activate this filter if you want the Item Overview to include the quantity of the item on jobs. This value will then be added into the calculation of Estimated Availabilty. For more information see Jobs.
Forecast

Insert BOM to Forecast
If you want the Material Planner to auto generate forecast entries for Items that are of the type BOM, set this value to yes.
Production Forecast Name
Material Planner creates Forecast Entries for you to help you get a more accurate reading on the demand of different items.
In the field Production Forecast Name you can set the Production Forecast Name for the Forecast Entries that will be created by Material Planner.
Replenishment

Default Replenishment Location Code
When replenishing an item you will have to select a location code to which that item will be replenished:
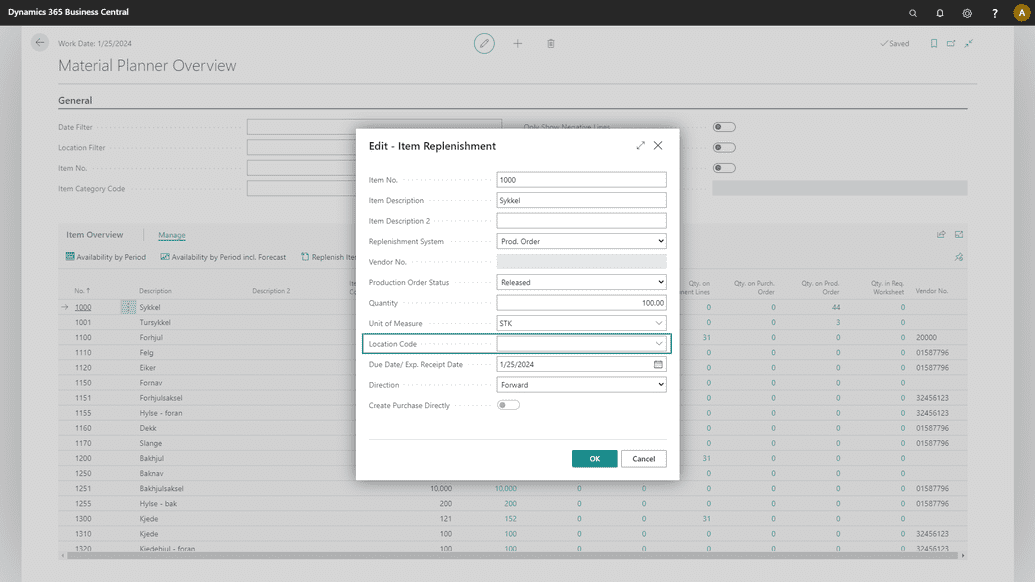
However you can set a default Location Code which will always be suggested when replenishing your items using Material Planner.
To do so select the location from the dropdown list in the field Default Replenishment Location Code that you would like to use as a Default Location when Replenishing Items.
This value can always be overriden in the Dialog shown when items are being replenished.
Requisition Worksheet Template and Requisition Worksheet Name
When replenishing items that have the Replenishment System set to Purchase, Material Planner will create Requisition Lines for you automatically.
Since a Requistion Worksheet Template and Requisition Worsheet Name are required you will need to provide those here if you intend to use that functionality.
-
Select the Template from the dropdown list in the field Requistion Worksheet Template.
-
Select the Name from the dropdown list in the field Requistion Worksheet Name.
Create Purchase Orders Directly by Default
Material Planner can create a Purchase Order automatically when replenishing an item if a Vendor is specified on the Item Card of the Item for which the Requisition Lines are created:
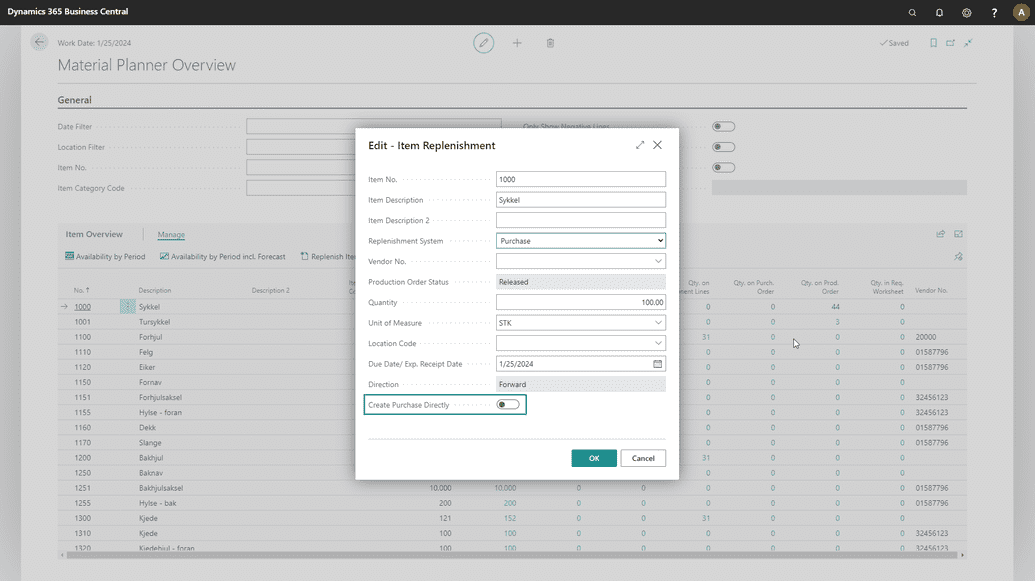
Here you can set the default value for this setting, Setting it to yes saves you the time of creating the purchase order manually from the "Requisition Worksheet". The disadvantage of creating Purchase Orders directly however is that the Purchase Orders created this way will contain only one line.
If you would like to combine numerous Requisition Lines in one Purchase Order then this should be set to false. You can then create a Purchase Order from the Requisition Worksheet for numerous lines.
This setting can always be overriden on the Replenishment Dialog.
This setting can always be overriden on the Replenishment Dialog.
Default Production Order Status and Direction
Material Planner can create Production Orders for you to replenish items that have the replenishment system set to Production. This requires that you set a Status and a Direction for the Production Order:
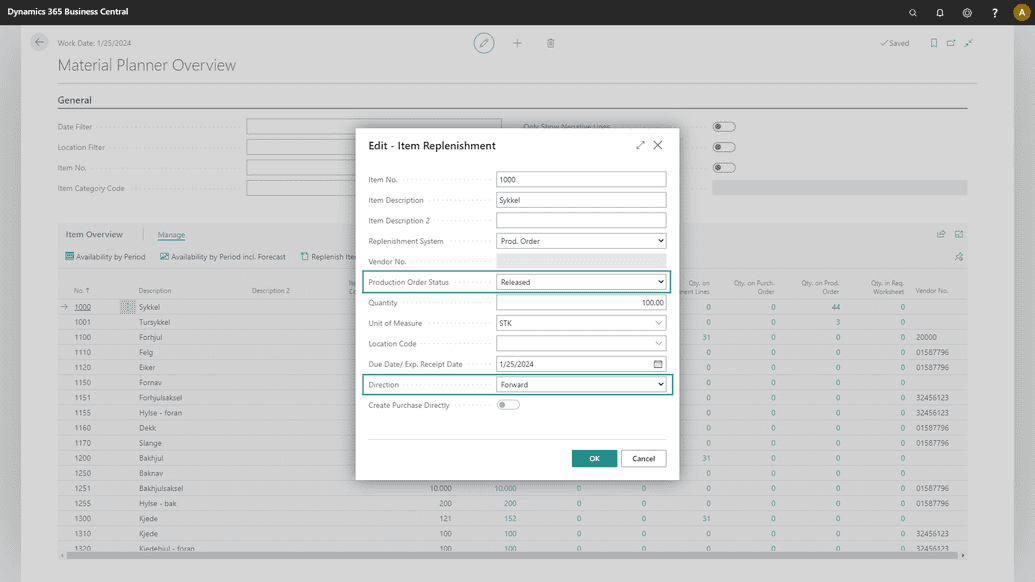
If you would like to use this functionality then you can set the default values of the Status and Direction of the Production Orders that Material Planner will create.
To set the values do the following
-
Select a value from the dropdown list in the field Default Production Order Status.
-
Select a value from the dropdown list in the field Default Production Order Direction.
This values can always be overridden on the Replenishment Dialog.
Trial Subscription
To try Material Planner you can register for a trial subscription. In the Assisted setup you will be offered to do so as one of the steps in the setup process. On the Manual Setup Page you can click the action Register Trial Subscription.
The process is fully automatic and you will not need to enter any information. The trial period will expire after 30 days. If you would not like a trial subscription you will have to contact post@dynapro.no to get a full subscription.
Material Planner will not work without a subscription.